Увеличить


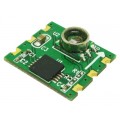
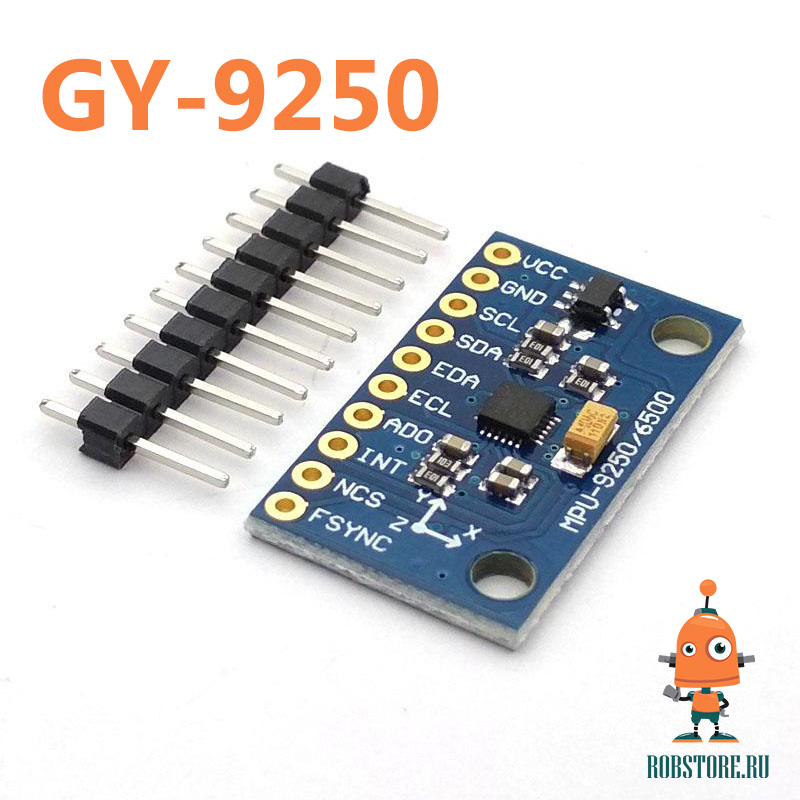
GY-9250 Гироскоп Акселерометр Магнитометр
ОПИСАНИЕ
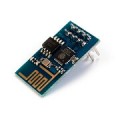
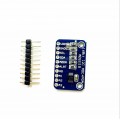
Модуль GY-9250 на микросхеме MPU-9250 это 9-ти осевое устройство 3-х осевой гироскоп, 3-х осевой акселерометр и 3-х осевой магнитометр (магниторезистивный компас).
ПАРАМЕТРЫ
- Чип: MPU9250
- Питание: 3-5 Вольт
- Интерфейс: стандартный IIC (он же I2C, он же TWI) / SPI
- Диапазон измерений акселерометра: +/- 2G, +/- 4G, +/- 8G, +/- 16G
- Диапазон измерений гироскопа: +/- 250, +/- 500, +/- 1000, +/- 2000°/с
- Чувствительность гироскопа: 131, 65,5, 32,8, 16,4 LSB/°/c
- Диапазон измерений компаса магнитометра: +/- 4800 мкТл
- Буфер: FIFO 512B
- Рабочий ток: гироскоп – 3,2 мА, акселерометр – 450 мкА, магнитометр – 280 мкА
- Ток в режиме сна: 8+8 мкА (гироскоп+акселерометр)
- Габариты: 25 х 16 x 3 мм
- Вес модуля: 2 грамма
- Диапазон измерений компаса магнитометра: +/- 4800 мкТл
КАК ПОДКЛЮЧИТЬ
Для первого подключения нам понадобятся Arduino Uno и провода Папа-Мама.
Модуль подключаем по схеме:
| GY-9250 MPU-9250 | Arduino Uno |
| VCC | +5V |
| GND | GND |
| SCL | A5 |
| SDA | A4 |
Для подключения используем провода Папа-Мама.
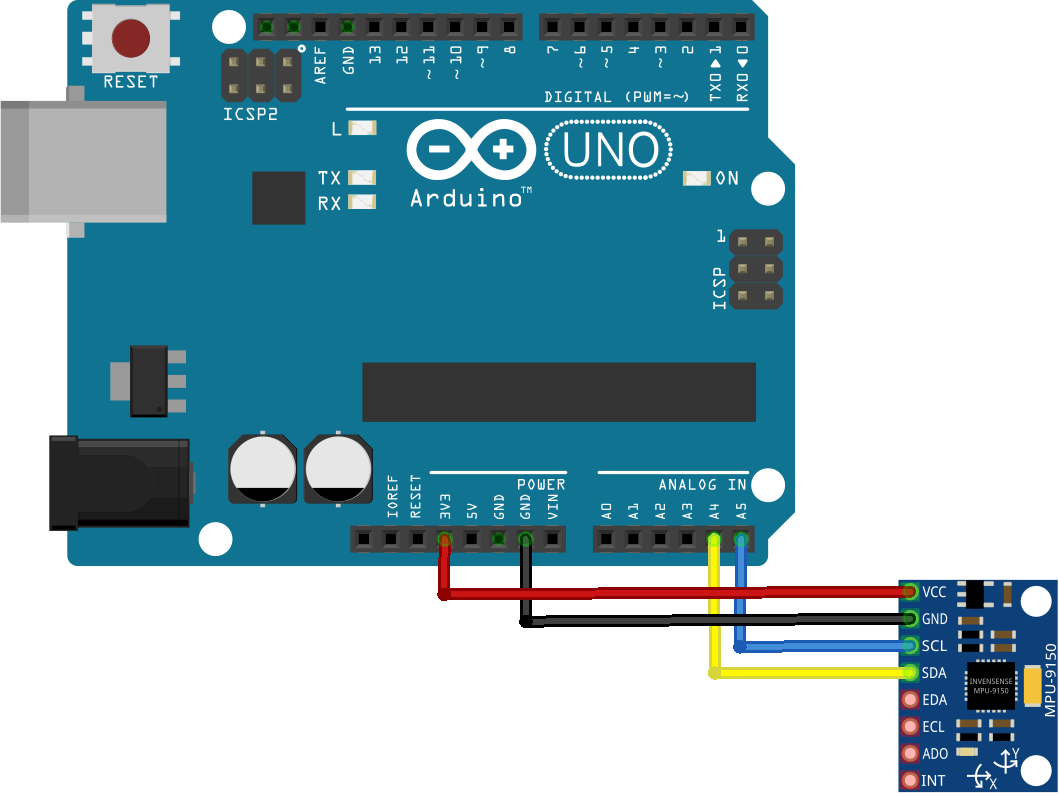
ПРИМЕР КОДА
Создаём и загружаем в Arduino скетч:
#include <Wire.h>
#include <TimerOne.h>

#define MPU9250_ADDRESS 0x68
#define MAG_ADDRESS 0x0C

#define GYRO_FULL_SCALE_250_DPS 0x00
#define GYRO_FULL_SCALE_500_DPS 0x08
#define GYRO_FULL_SCALE_1000_DPS 0x10
#define GYRO_FULL_SCALE_2000_DPS 0x18

#define ACC_FULL_SCALE_2_G 0x00
#define ACC_FULL_SCALE_4_G 0x08
#define ACC_FULL_SCALE_8_G 0x10
#define ACC_FULL_SCALE_16_G 0x18

// This function read Nbytes bytes from I2C device at address Address.
// Put read bytes starting at register Register in the Data array.
void I2Cread(uint8_t Address, uint8_t Register, uint8_t Nbytes, uint8_t* Data)
{
// Set register address
Wire.beginTransmission(Address);
Wire.write(Register);
Wire.endTransmission();

// Read Nbytes
Wire.requestFrom(Address, Nbytes);
uint8_t index=0;
while (Wire.available())
Data[index++]=Wire.read();
}

// Write a byte (Data) in device (Address) at register (Register)
void I2CwriteByte(uint8_t Address, uint8_t Register, uint8_t Data)
{
// Set register address
Wire.beginTransmission(Address);
Wire.write(Register);
Wire.write(Data);
Wire.endTransmission();
}

// Initial time
long int ti;
volatile bool intFlag=false;

// Initializations
void setup()
{
// Arduino initializations
Wire.begin();
Serial.begin(115200);

// Set accelerometers low pass filter at 5Hz
I2CwriteByte(MPU9250_ADDRESS,29,0x06);
// Set gyroscope low pass filter at 5Hz
I2CwriteByte(MPU9250_ADDRESS,26,0x06);

// Configure gyroscope range
I2CwriteByte(MPU9250_ADDRESS,27,GYRO_FULL_SCALE_1000_DPS);
// Configure accelerometers range
I2CwriteByte(MPU9250_ADDRESS,28,ACC_FULL_SCALE_4_G);
// Set by pass mode for the magnetometers
I2CwriteByte(MPU9250_ADDRESS,0x37,0x02);

// Request continuous magnetometer measurements in 16 bits
I2CwriteByte(MAG_ADDRESS,0x0A,0x16);

pinMode(13, OUTPUT);
Timer1.initialize(10000); // initialize timer1, and set a 1/2 second period
Timer1.attachInterrupt(callback); // attaches callback() as a timer overflow interrupt

// Store initial time
ti=millis();
}

// Counter
long int cpt=0;

void callback()
{
intFlag=true;
digitalWrite(13, digitalRead(13) ^ 1);
}

// Main loop, read and display data
void loop()
{
while (!intFlag);
intFlag=false;

// Display time
Serial.print (millis()-ti,DEC);
Serial.print ("\t");

// _______________
// ::: Counter :::

// Display data counter
// Serial.print (cpt++,DEC);
// Serial.print ("\t");


// ____________________________________
// ::: accelerometer and gyroscope :::

// Read accelerometer and gyroscope
uint8_t Buf[14];
I2Cread(MPU9250_ADDRESS,0x3B,14,Buf);

// Create 16 bits values from 8 bits data

// Accelerometer
int16_t ax=-(Buf[0]<<8 | Buf[1]);
int16_t ay=-(Buf[2]<<8 | Buf[3]);
int16_t az=Buf[4]<<8 | Buf[5];

// Gyroscope
int16_t gx=-(Buf[8]<<8 | Buf[9]);
int16_t gy=-(Buf[10]<<8 | Buf[11]);
int16_t gz=Buf[12]<<8 | Buf[13];

// Display values

// Accelerometer
Serial.print (ax,DEC);
Serial.print ("\t");
Serial.print (ay,DEC);
Serial.print ("\t");
Serial.print (az,DEC);
Serial.print ("\t");

// Gyroscope
Serial.print (gx,DEC);
Serial.print ("\t");
Serial.print (gy,DEC);
Serial.print ("\t");
Serial.print (gz,DEC);
Serial.print ("\t");

// _____________________
// ::: Magnetometer :::

// Read register Status 1 and wait for the DRDY: Data Ready

uint8_t ST1;
do
{
I2Cread(MAG_ADDRESS,0x02,1,&ST1);
}
while (!(ST1&0x01));

// Read magnetometer data
uint8_t Mag[7];
I2Cread(MAG_ADDRESS,0x03,7,Mag);

// Create 16 bits values from 8 bits data

// Magnetometer
int16_t mx=-(Mag[3]<<8 | Mag[2]);
int16_t my=-(Mag[1]<<8 | Mag[0]);
int16_t mz=-(Mag[5]<<8 | Mag[4]);

// Magnetometer
Serial.print (mx+200,DEC);
Serial.print ("\t");
Serial.print (my-70,DEC);
Serial.print ("\t");
Serial.print (mz-700,DEC);
Serial.print ("\t");

// End of line
Serial.println("");
// delay(100);
}
В этом примере выводятся все измерения, которые можно получить с этого модуля. Для просмотра поступающих данных необходимо использовать "Монитор порта".
СКАЧАТЬ
КОМПЛЕКТ
- Модуль GY-9250 MPU-9250 х1
Метки: #GY-9250

