Увеличить


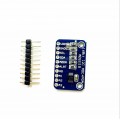
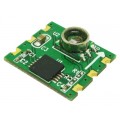
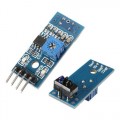
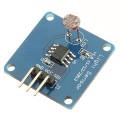
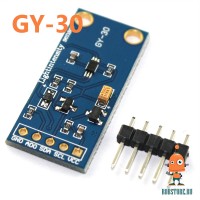
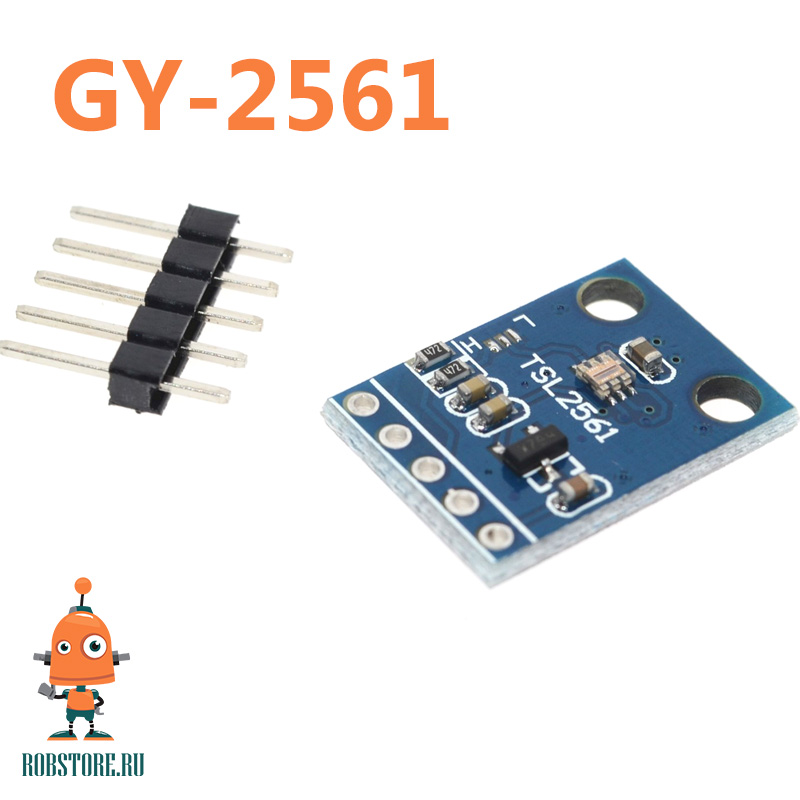
Датчик освещенности GY-2561 TSL2561
ОПИСАНИЕ
Цифровой датчик освещенности с большим интервалом измерений. Модуль выполнен на базе TSL2651.
ПАРАМЕТРЫ
- Чип: TSL2651
- Питание: 3.3-5 Вольт
- Протокол связи: стандартный IIC (он же I2C, он же TWI)
- Диапазон измерений: 1 - 65535 Люкс
- Габариты: 14 х 18 мм
КАК ПОДКЛЮЧИТЬ
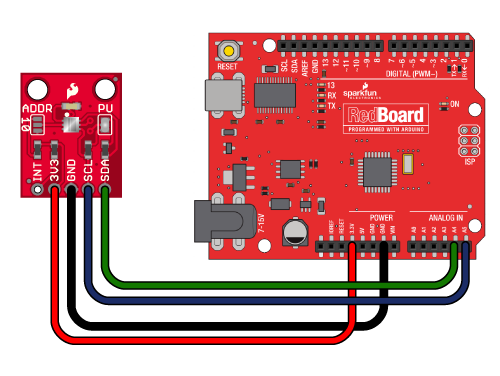
Для первого подключения нам понадобятся Arduino Uno и провода Папа-Мама. Также нужно скачать библиотеку TSL2561 и подключить её к проекту в Arduino IDE.
Модуль подключаем по схеме:
| GY-302 BH1750 | Arduino Uno |
| VCC | +3.3V |
| GND | GND |
| SCL | A5 |
| SDA | A4 |
Для подключения используем провода Папа-Мама.
ПРИМЕР КОДА
После установки библиотеки создаём и загружаем в Arduino скетч:
#include <SparkFunTSL2561.h>
#include <Wire.h>
// Create an SFE_TSL2561 object, here called "light":
SFE_TSL2561 light;
// Global variables:
boolean gain;     // Gain setting, 0 = X1, 1 = X16;
unsigned int ms;  // Integration ("shutter") time in milliseconds

void setup()
{
  // Initialize the Serial port:
  Serial.begin(9600);
  Serial.println("TSL2561 example sketch");

  // Initialize the SFE_TSL2561 library
  // You can pass nothing to light.begin() for the default I2C address (0x39),
  // or use one of the following presets if you have changed
  // the ADDR jumper on the board:

  // TSL2561_ADDR_0 address with '0' shorted on board (0x29)
  // TSL2561_ADDR   default address (0x39)
  // TSL2561_ADDR_1 address with '1' shorted on board (0x49)
  light.begin();

  // Get factory ID from sensor:
  // (Just for fun, you don't need to do this to operate the sensor)

  unsigned char ID;

  if (light.getID(ID))
  {
    Serial.print("Got factory ID: 0X");
    Serial.print(ID,HEX);
    Serial.println(", should be 0X5X");
  }
  // Most library commands will return true if communications was successful,
  // and false if there was a problem. You can ignore this returned value,
  // or check whether a command worked correctly and retrieve an error code:
  else
  {
    byte error = light.getError();
    printError(error);
  }

  // The light sensor has a default integration time of 402ms,
  // and a default gain of low (1X).

  // If you would like to change either of these, you can
  // do so using the setTiming() command.

  // If gain = false (0), device is set to low gain (1X)
  // If gain = high (1), device is set to high gain (16X)

  gain = 0;

  // If time = 0, integration will be 13.7ms
  // If time = 1, integration will be 101ms
  // If time = 2, integration will be 402ms
  // If time = 3, use manual start / stop to perform your own integration

  unsigned char time = 2;

  // setTiming() will set the third parameter (ms) to the
  // requested integration time in ms (this will be useful later):

  Serial.println("Set timing...");
  light.setTiming(gain,time,ms);

  // To start taking measurements, power up the sensor:

  Serial.println("Powerup...");
  light.setPowerUp();

  // The sensor will now gather light during the integration time.
  // After the specified time, you can retrieve the result from the sensor.
  // Once a measurement occurs, another integration period will start.
}

void loop()
{
  // Wait between measurements before retrieving the result
  // (You can also configure the sensor to issue an interrupt
  // when measurements are complete)

  // This sketch uses the TSL2561's built-in integration timer.
  // You can also perform your own manual integration timing
  // by setting "time" to 3 (manual) in setTiming(),
  // then performing a manualStart() and a manualStop() as in the below
  // commented statements:

  // ms = 1000;
  // light.manualStart();
  delay(ms);
  // light.manualStop();

  // Once integration is complete, we'll retrieve the data.

  // There are two light sensors on the device, one for visible light
  // and one for infrared. Both sensors are needed for lux calculations.

  // Retrieve the data from the device:

  unsigned int data0, data1;

  if (light.getData(data0,data1))
  {
    // getData() returned true, communication was successful

    Serial.print("data0: ");
    Serial.print(data0);
    Serial.print(" data1: ");
    Serial.print(data1);

    // To calculate lux, pass all your settings and readings
    // to the getLux() function.

    // The getLux() function will return 1 if the calculation
    // was successful, or 0 if one or both of the sensors was
    // saturated (too much light). If this happens, you can
    // reduce the integration time and/or gain.

    double lux;    // Resulting lux value
    boolean good;  // True if neither sensor is saturated

    // Perform lux calculation:

    good = light.getLux(gain,ms,data0,data1,lux);

    // Print out the results:

    Serial.print(" lux: ");
    Serial.print(lux);
    if (good) Serial.println(" (good)"); else Serial.println(" (BAD)");
  }
  else
  {
    // getData() returned false because of an I2C error, inform the user.

    byte error = light.getError();
    printError(error);
  }
}

void printError(byte error)
  // If there's an I2C error, this function will
  // print out an explanation.
{
  Serial.print("I2C error: ");
  Serial.print(error,DEC);
  Serial.print(", ");

  switch(error)
  {
    case 0:
      Serial.println("success");
      break;
    case 1:
      Serial.println("data too long for transmit buffer");
      break;
    case 2:
      Serial.println("received NACK on address (disconnected?)");
      break;
    case 3:
      Serial.println("received NACK on data");
      break;
    case 4:
      Serial.println("other error");
      break;
    default:
      Serial.println("unknown error");
  }
}
В этом примере в COM порт поступает информация о измеренной освещённости. Для просмотра поступающих данных необходимо использовать "Монитор порта".
КОМПЛЕКТ
- Датчик освещённости GY-2561 TSL2651 х1
Наверняка понадобятся
Метки: #GY-2561

