ВВЕДЕНИЕ
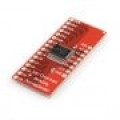
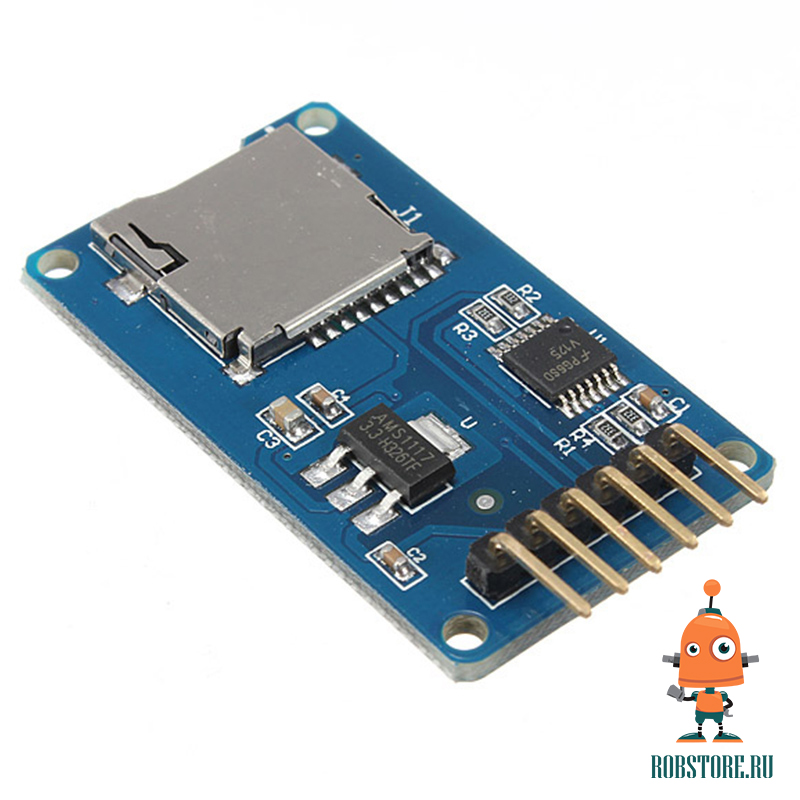
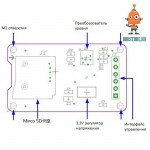
Модуль (адаптер для карты MicroSD) даёт возможность записать данные (изображения, звук, показания датчиков) на карту памяти SD.
Можно использовать напрямую без дополнительных библиотек. Arduino IDE поставляется в комплекте с библиотекой для работы с этим модулем в режиме чтение - запись.
ПАРАМЕТРЫ
- Напряжение питания - 5V или 3.3V
- Поддержка карт - Micro SD, Micro SDHC карты (высокоскоростной карты)
- Максимальный обьем Micro SD карт - до 2 Гб
- Максимальный обьем Micro SDHC карт - до 32 Гб
- Интерфейс связи - стардартный SPI.
- Отверстия для установки - М2.
КАК ПОДКЛЮЧИТЬ
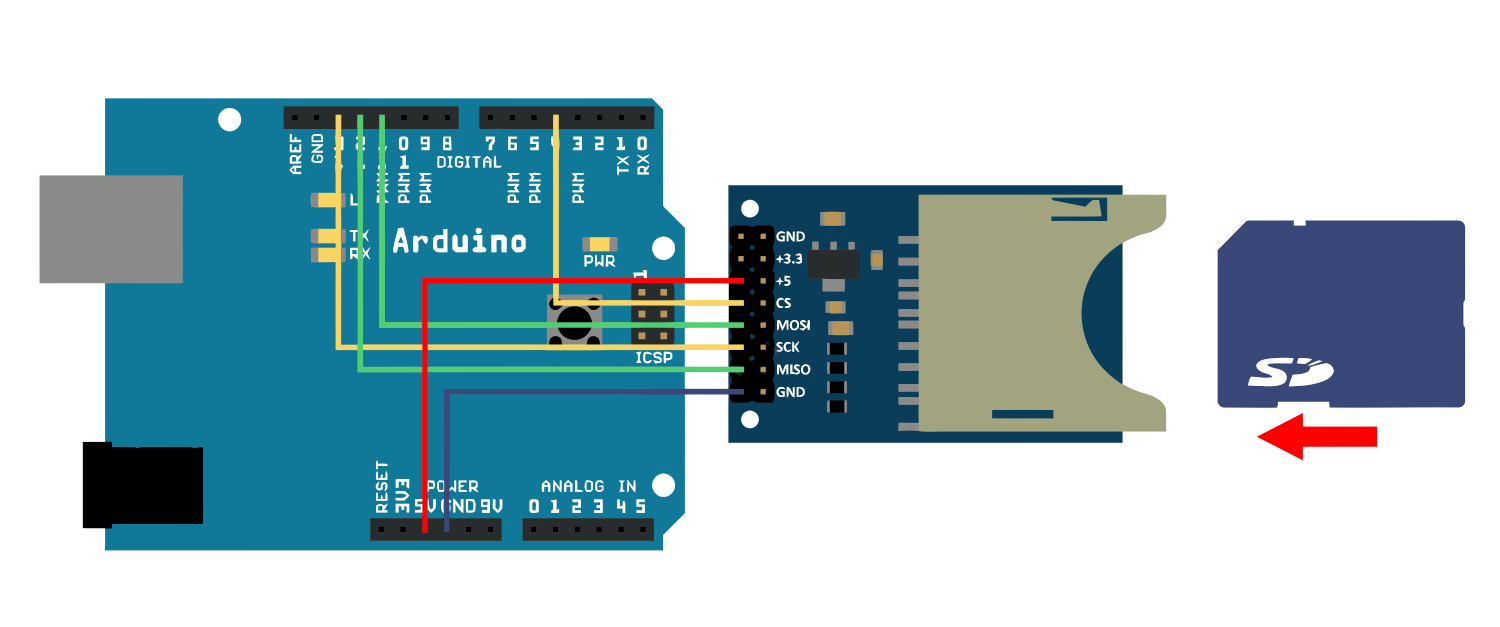
- Подключите пины spi (11, 12, 13) вашей Arduino к пинам MISO, SCK, MOSI модуля, как показано на рисунке.
- Подключите пин 4 Arduino к пину CS модуля.
- Подайте на модуль питание 5 Вольт.
ПРИМЕР КОДА
Для работы с MicroSD Card Adapter необходимо подключить библиотеку SD #include "SD.h", которая уже встроена в Arduino IDE.
SD библиотека содержит функции, объявленные в классе SDClass для доступа к SD-карте памяти, а также функции, позволющие совершать различные операции над файлами и каталогами в классе File.
// include the SD library: #include <spi.h>#include <sd.h> // set up variables using the SD utility library functions: Sd2Card card; SdVolume volume; SdFile root; // change this to match your SD shield or module; // Arduino Ethernet shield: pin 4 // Adafruit SD shields and modules: pin 10 // Sparkfun SD shield: pin 8 const int chipSelect = 4; void setup() { // Open serial communications and wait for port to open: Serial.begin(9600); while (!Serial) { ; // wait for serial port to connect. Needed for native USB port only } Serial.print("\nInitializing SD card..."); // we'll use the initialization code from the utility libraries // since we're just testing if the card is working! if (!card.init(SPI_HALF_SPEED, chipSelect)) { Serial.println("initialization failed. Things to check:"); Serial.println("* is a card inserted?"); Serial.println("* is your wiring correct?"); Serial.println("* did you change the chipSelect pin to match your shield or module?"); return; } else { Serial.println("Wiring is correct and a card is present."); } // print the type of card Serial.print("\nCard type: "); switch (card.type()) { case SD_CARD_TYPE_SD1: Serial.println("SD1"); break; case SD_CARD_TYPE_SD2: Serial.println("SD2"); break; case SD_CARD_TYPE_SDHC: Serial.println("SDHC"); break; default: Serial.println("Unknown"); } // Now we will try to open the 'volume'/'partition' - it should be FAT16 or FAT32 if (!volume.init(card)) { Serial.println("Could not find FAT16/FAT32 partition.\nMake sure you've formatted the card"); return; } // print the type and size of the first FAT-type volume uint32_t volumesize; Serial.print("\nVolume type is FAT"); Serial.println(volume.fatType(), DEC); Serial.println(); volumesize = volume.blocksPerCluster(); // clusters are collections of blocks volumesize *= volume.clusterCount(); // we'll have a lot of clusters volumesize *= 512; // SD card blocks are always 512 bytes Serial.print("Volume size (bytes): "); Serial.println(volumesize); Serial.print("Volume size (Kbytes): "); volumesize /= 1024; Serial.println(volumesize); Serial.print("Volume size (Mbytes): "); volumesize = 1024; Serial.println(volumesize); Serial.println("\nFiles found on the card (name, date and size in bytes): "); root.openRoot(volume); // list all files in the card with date and size root.ls(LS_R | LS_DATE | LS_SIZE); } void loop(void) { }
КОМПЛЕКТ
- Модуль Micro SD x 1
Метки: #Arduino #microsd

